Weedmat, also known as landscape fabric, is a simple but effective tool in the garden and landscape world. It works by creating a physical barrier over the soil that blocks sunlight, preventing weed seeds from germinating. At the same time, it’s designed to be permeable, allowing water and air to pass through and nourish the soil below. That means your plants still get what they need to thrive, but weeds are literally left in the dark.
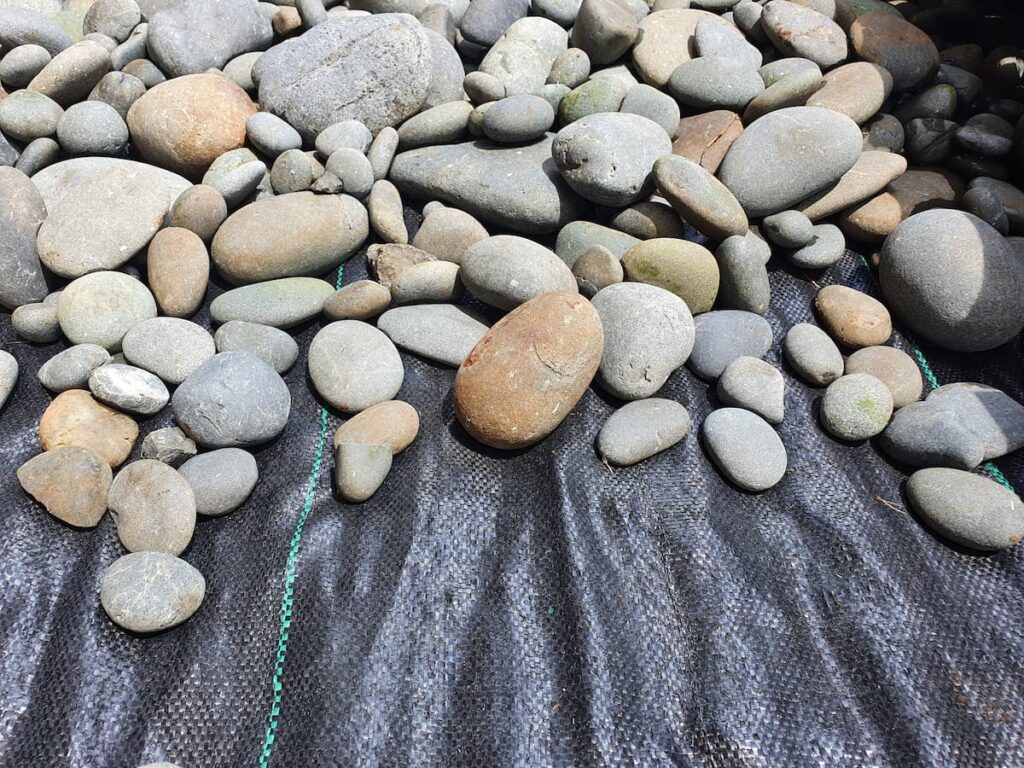
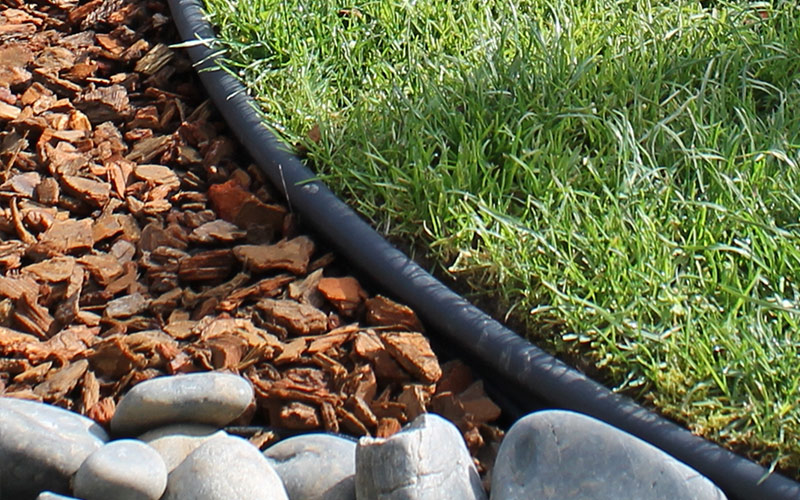
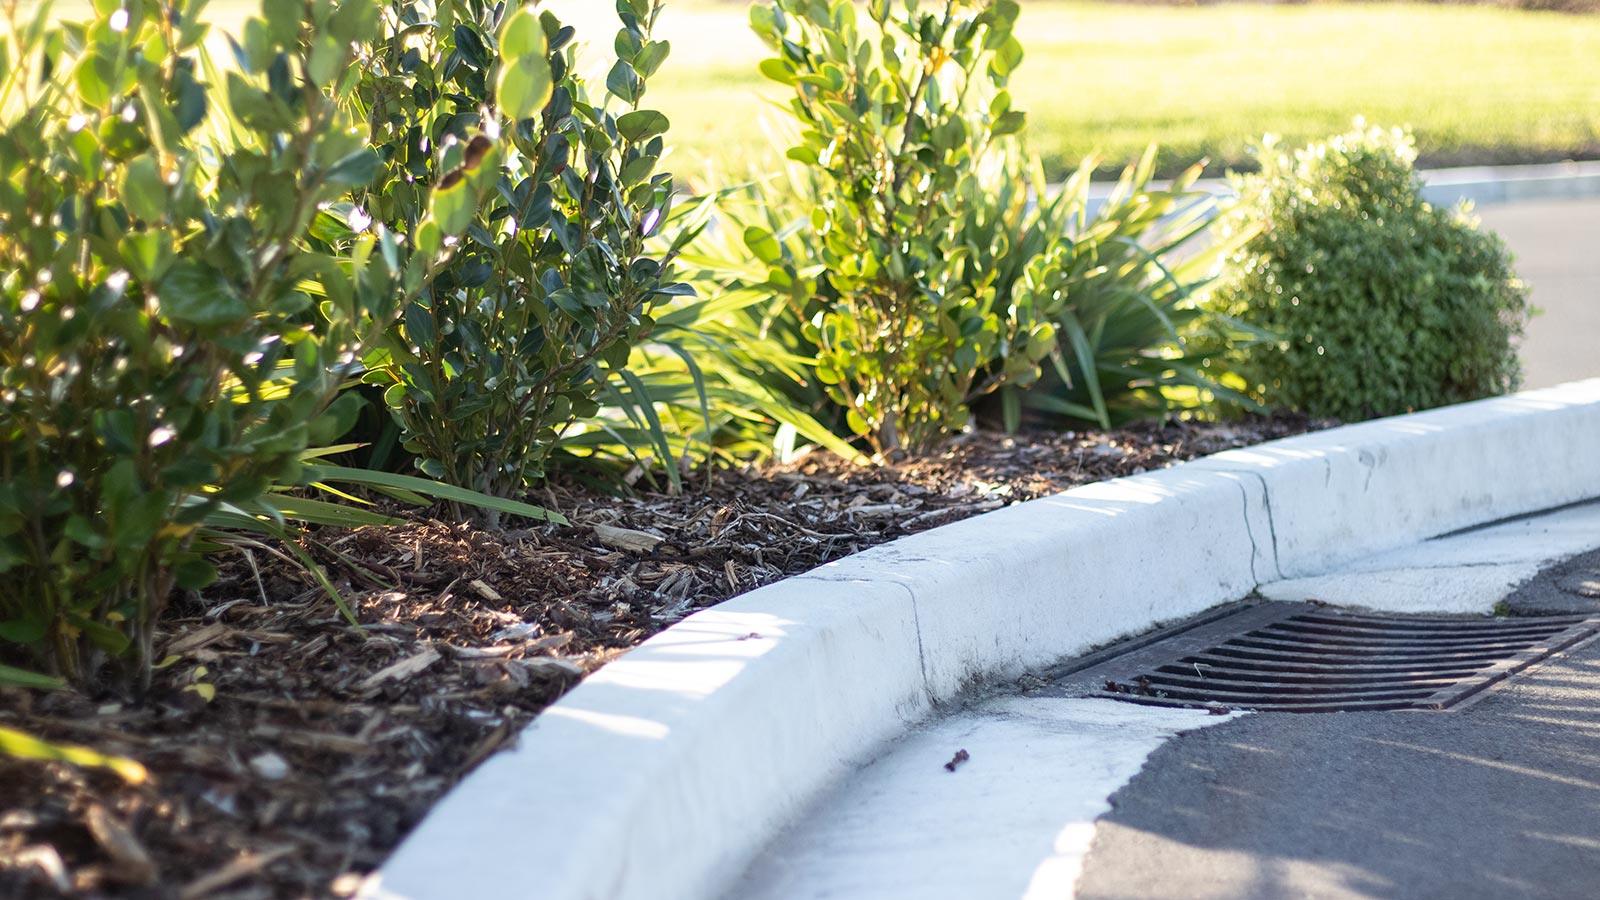
Using Weedmat helps reduce the need for chemical sprays, which is a win for both your garden’s ecosystem and the wider environment. It’s particularly useful in garden beds, raised planters, around trees and shrubs, and under pathways or decorative stone. When paired with mulch or gravel, it keeps the area tidy and low maintenance, which means less time weeding and more time enjoying.
Equally important is how Weedmat is secured to the ground, so in this blog, we’re going to look at Weedmat Pins and the best way to secure Weedmat into your garden.
The Importance of Securing Weedmat to the Subsoil
Securing Weedmat properly is often overlooked, but it makes all the difference in how effective the fabric will be. If the Weedmat isn’t pinned down well, it can easily lift with wind or foot traffic. Once it lifts, weeds can sneak through, and the mat can even become a tripping hazard. In wet weather, water can pool and cause the mat to shift, or worse, it can lead to erosion under the fabric.
Good anchoring means the Weedmat stays in contact with the subsoil and holds its position over time. This creates a tight seal that weeds can’t push through and keeps the surface neat and safe. For sloped areas or high-wind environments, proper pinning is especially important, both for performance and safety.
- Prevents Weedmat from shifting in wind or rain
- Maintains strong soil contact for better weed control
- Reduces trip hazards and erosion
- Especially important on slopes or exposed areas
- Extends the life and effectiveness of your installation
Choosing the Right Weedmat Pins: Flat Head vs. Rounded Head

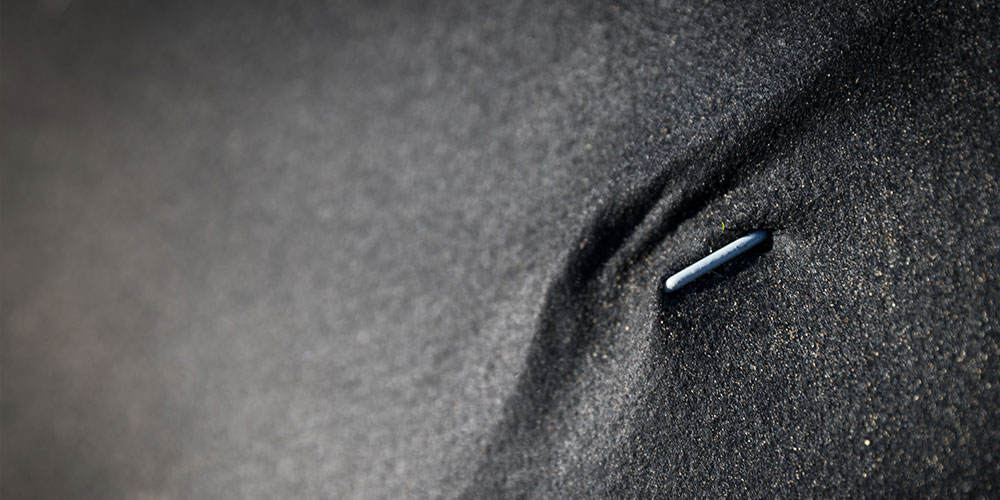
Not all Weedmat pins are created equal. When it comes to holding power and fabric protection, the design of the pin head makes a big difference. Flat head pins, like the ones available from Strol, spread pressure more evenly across the fabric. This wider surface area reduces the risk of tearing and helps the pin grip better in the soil, especially in loose or sandy areas. Strol 130mm and 230mm Weedmat pins are also made from galvanised steel, so they’re built to last.
Rounded head pins, on the other hand, apply pressure to a smaller point. Over time, or with any tension on the fabric, this can cause rips or holes in the Weedmat. Plus, they don’t hold as securely and can pop out more easily with foot traffic or shifting soil.
Flat head pins are the better choice for both durability and holding strength. They’re easier to install, safer around fabric, and help your Weedmat stay in place longer.
- Flat head pins provide stronger, more even hold
- Reduce tearing and wear on the fabric
- Better suited for varied soil conditions
- Rounded pins can damage fabric and lift more easily
- Choose flat head pins for longer-lasting results
Optimal Pin Spacing for Maximum Weedmat Hold
Once you’ve got the right pins, spacing is the next critical step. Too few pins and your Weedmat will flap, shift, or tear. Too many, and you’re wasting time and materials. A good rule of thumb is to space pins about 50 to 80 cm apart along straight runs. This keeps the fabric taut without overloading it.
At the edges of your installation, or anywhere the mat is more likely to lift, tighten the spacing to every 30 to 50 cm. This applies around garden beds, edges of paths or driveways, and borders near fencing.
When planting through Weedmat, make small ‘X’ cuts to place your plants, then secure each corner of the cut with a pin. This keeps the fabric snug to the plant stem and stops weeds from slipping through. On sloped areas, add more pins; every 30 to 40 cm to prevent the fabric from sliding downhill.
- General spacing: 50–80 cm on straight runs
- Tighter spacing (30–50 cm) along edges and high-wind zones
- Pin around plant openings to secure cuts
- For slopes, use more frequent pins (every 30–40 cm)
- Ensures consistent hold and minimises lifting
How to Overlay Weedmat for Effective Drainage?
One detail that’s easy to miss but has a big impact is how you overlap your Weedmat. If you’re laying down multiple sheets, always overlap them in the direction that follows the slope of your landscape. This way, water runs from the upper layer down onto the lower layer, like shingles on a roof, preventing water from getting trapped under the Weedmat.
Trapped water can cause soggy spots, erosion or even encourage weed growth if soil becomes exposed. Aim for an overlap of 10–15 cm, and pin both layers down to keep them aligned and tight. This is particularly important near drains, swales or areas designed for stormwater management. Getting the flow direction right keeps your landscape dry, protected and healthy.
- Overlap fabric in the direction of natural slope
- Prevents water from getting under the mat
- Use a 10–15 cm overlap for solid coverage
- Pin both layers with tighter spacing for a secure seal
- Crucial near drains and water flow paths
Tips for DIY Weedmat Installation
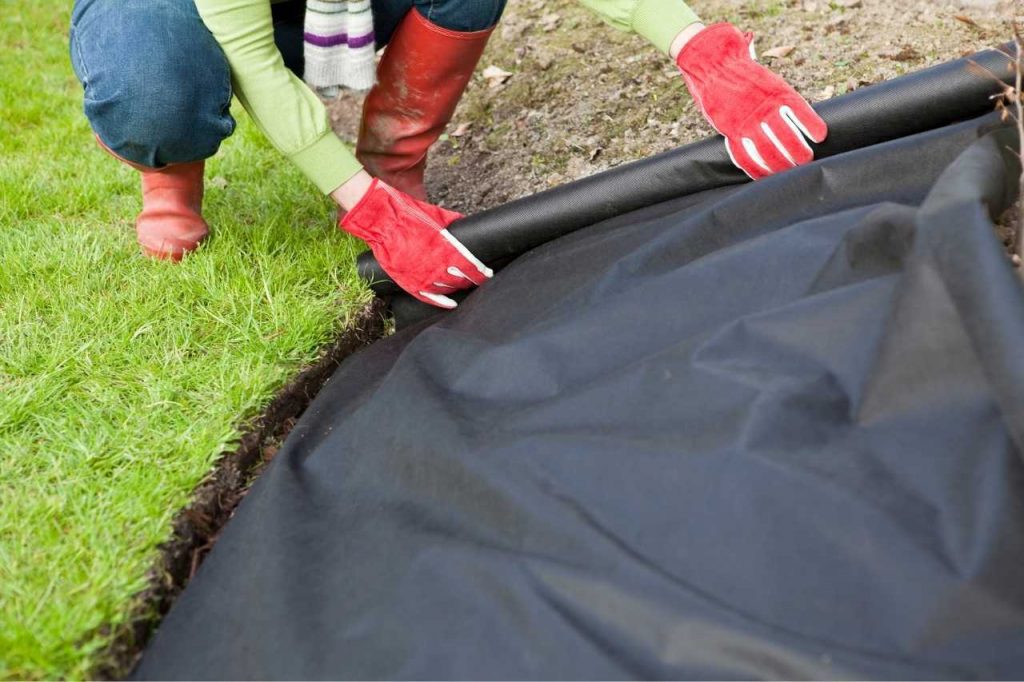
Installing Weedmat doesn’t require special skills, but there are a few tricks that can help you get it right the first time. Start by clearing the area of weeds, roots and sharp debris. If needed, level or compact the soil for a smooth base. Roll out your Weedmat in manageable sections, keeping it slightly taut but not stretched tight.
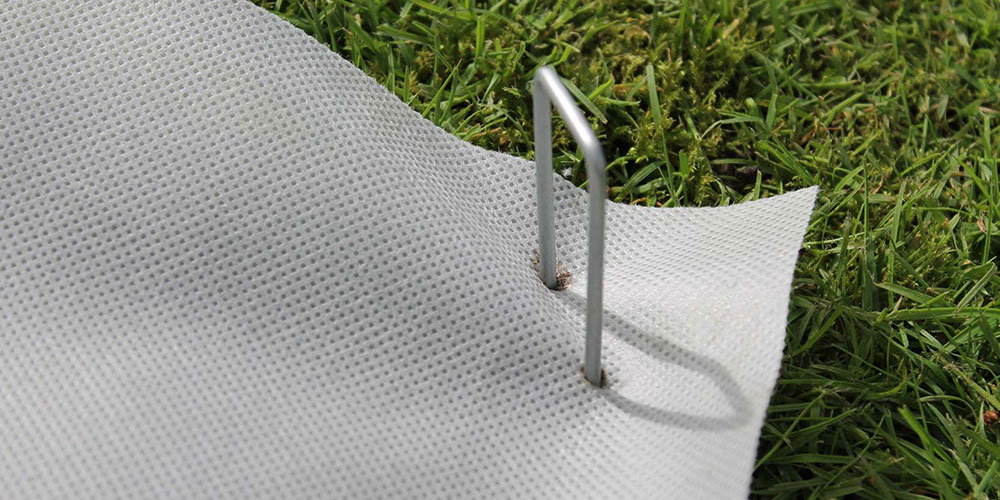
Use a rubber mallet to drive your pins in; it’s easier on the hands and won’t bend the pins like a hammer might. Always pin through to the firm subsoil layer for the best hold. If you’re using mulch or gravel, lay it on top after pinning to protect the mat from sun exposure and extend its life.
Check your installation after a few weeks and replace or adjust pins as needed. A bit of maintenance goes a long way in keeping your garden looking sharp.
- Clear and level soil before laying fabric
- Lay fabric taut but not overly stretched
- Use a rubber mallet to insert pins cleanly
- Pin into subsoil for stronger hold
- Cover fabric with mulch or gravel to protect and finish the look
Weedmat is a simple but powerful way to control weeds, manage soil health and keep your garden looking great with less effort. But like any landscape material, it works best when installed correctly. That means using the right pins, spacing them properly and overlapping the material for good drainage.
Flat head pins are the smart choice, especially in New Zealand’s varied climates and soils. Whether you’re managing a raised bed, a sloped backyard or a gravel path, proper installation sets you up for success. Plus, by reducing the need for sprays and excess watering, you’re making a more sustainable choice for your home and the environment.
At Strol, we believe in creating outdoor solutions that are practical, attractive and built for the long term. With quality Weedmat and flat head pins in your toolkit, you’re well on your way to Enhancing Tomorrow.