Your ideal home garden, from seedlings to steamed vegetables.
These days, many of us are returning from the supermarket, looking at the receipt and wondering how we can avoid paying constantly rising prices for salads, fruit, herbs and vegetables. We want to eat healthy, but it’s becoming difficult to afford. There is a solution, one that’s been waiting for you each time you step out the door, and that’s planting your own garden using seeds or seedlings.
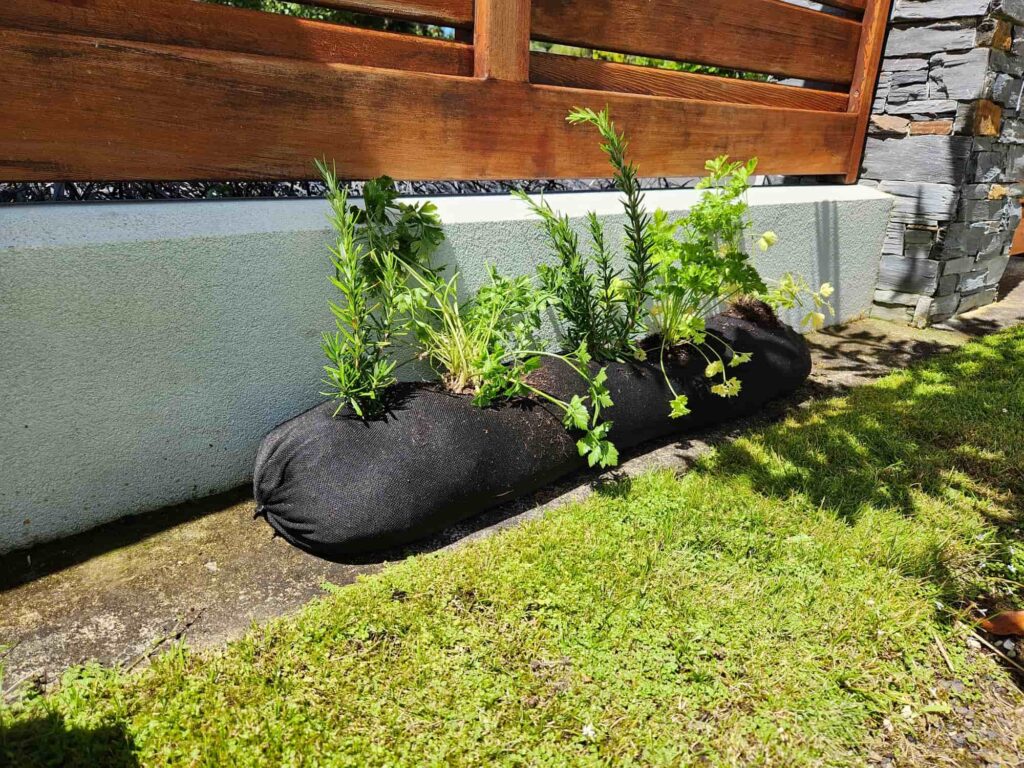
Many people say ‘but we don’t have the room’. Having a vegetable or herb garden doesn’t mean you need a large plot of land. There are ways to grow your favourite foods with raised gardens against the house or on your patios, but for now, we’re going to look at the basics of what you’ll need. This will include:
- The benefits of growing your own seedlings at home
- The different types of seedlings that can be grown in New Zealand
- The importance of starting with quality seeds and soil
- The potential cost savings of growing your own seedlings
Should I sow seeds directly into gardens or should I create seedlings to transplant?

Plants that have a root on them, like radishes, beetroot, carrots, parsnips and turnips should be sown directly into the garden soil outside. Plants with larger seeds, like peas or beans, can be sown directly, but they can also be transplanted from seedlings. For everything else, nurturing a strong seedling will help get you started.
How to Make Seedlings at Home.
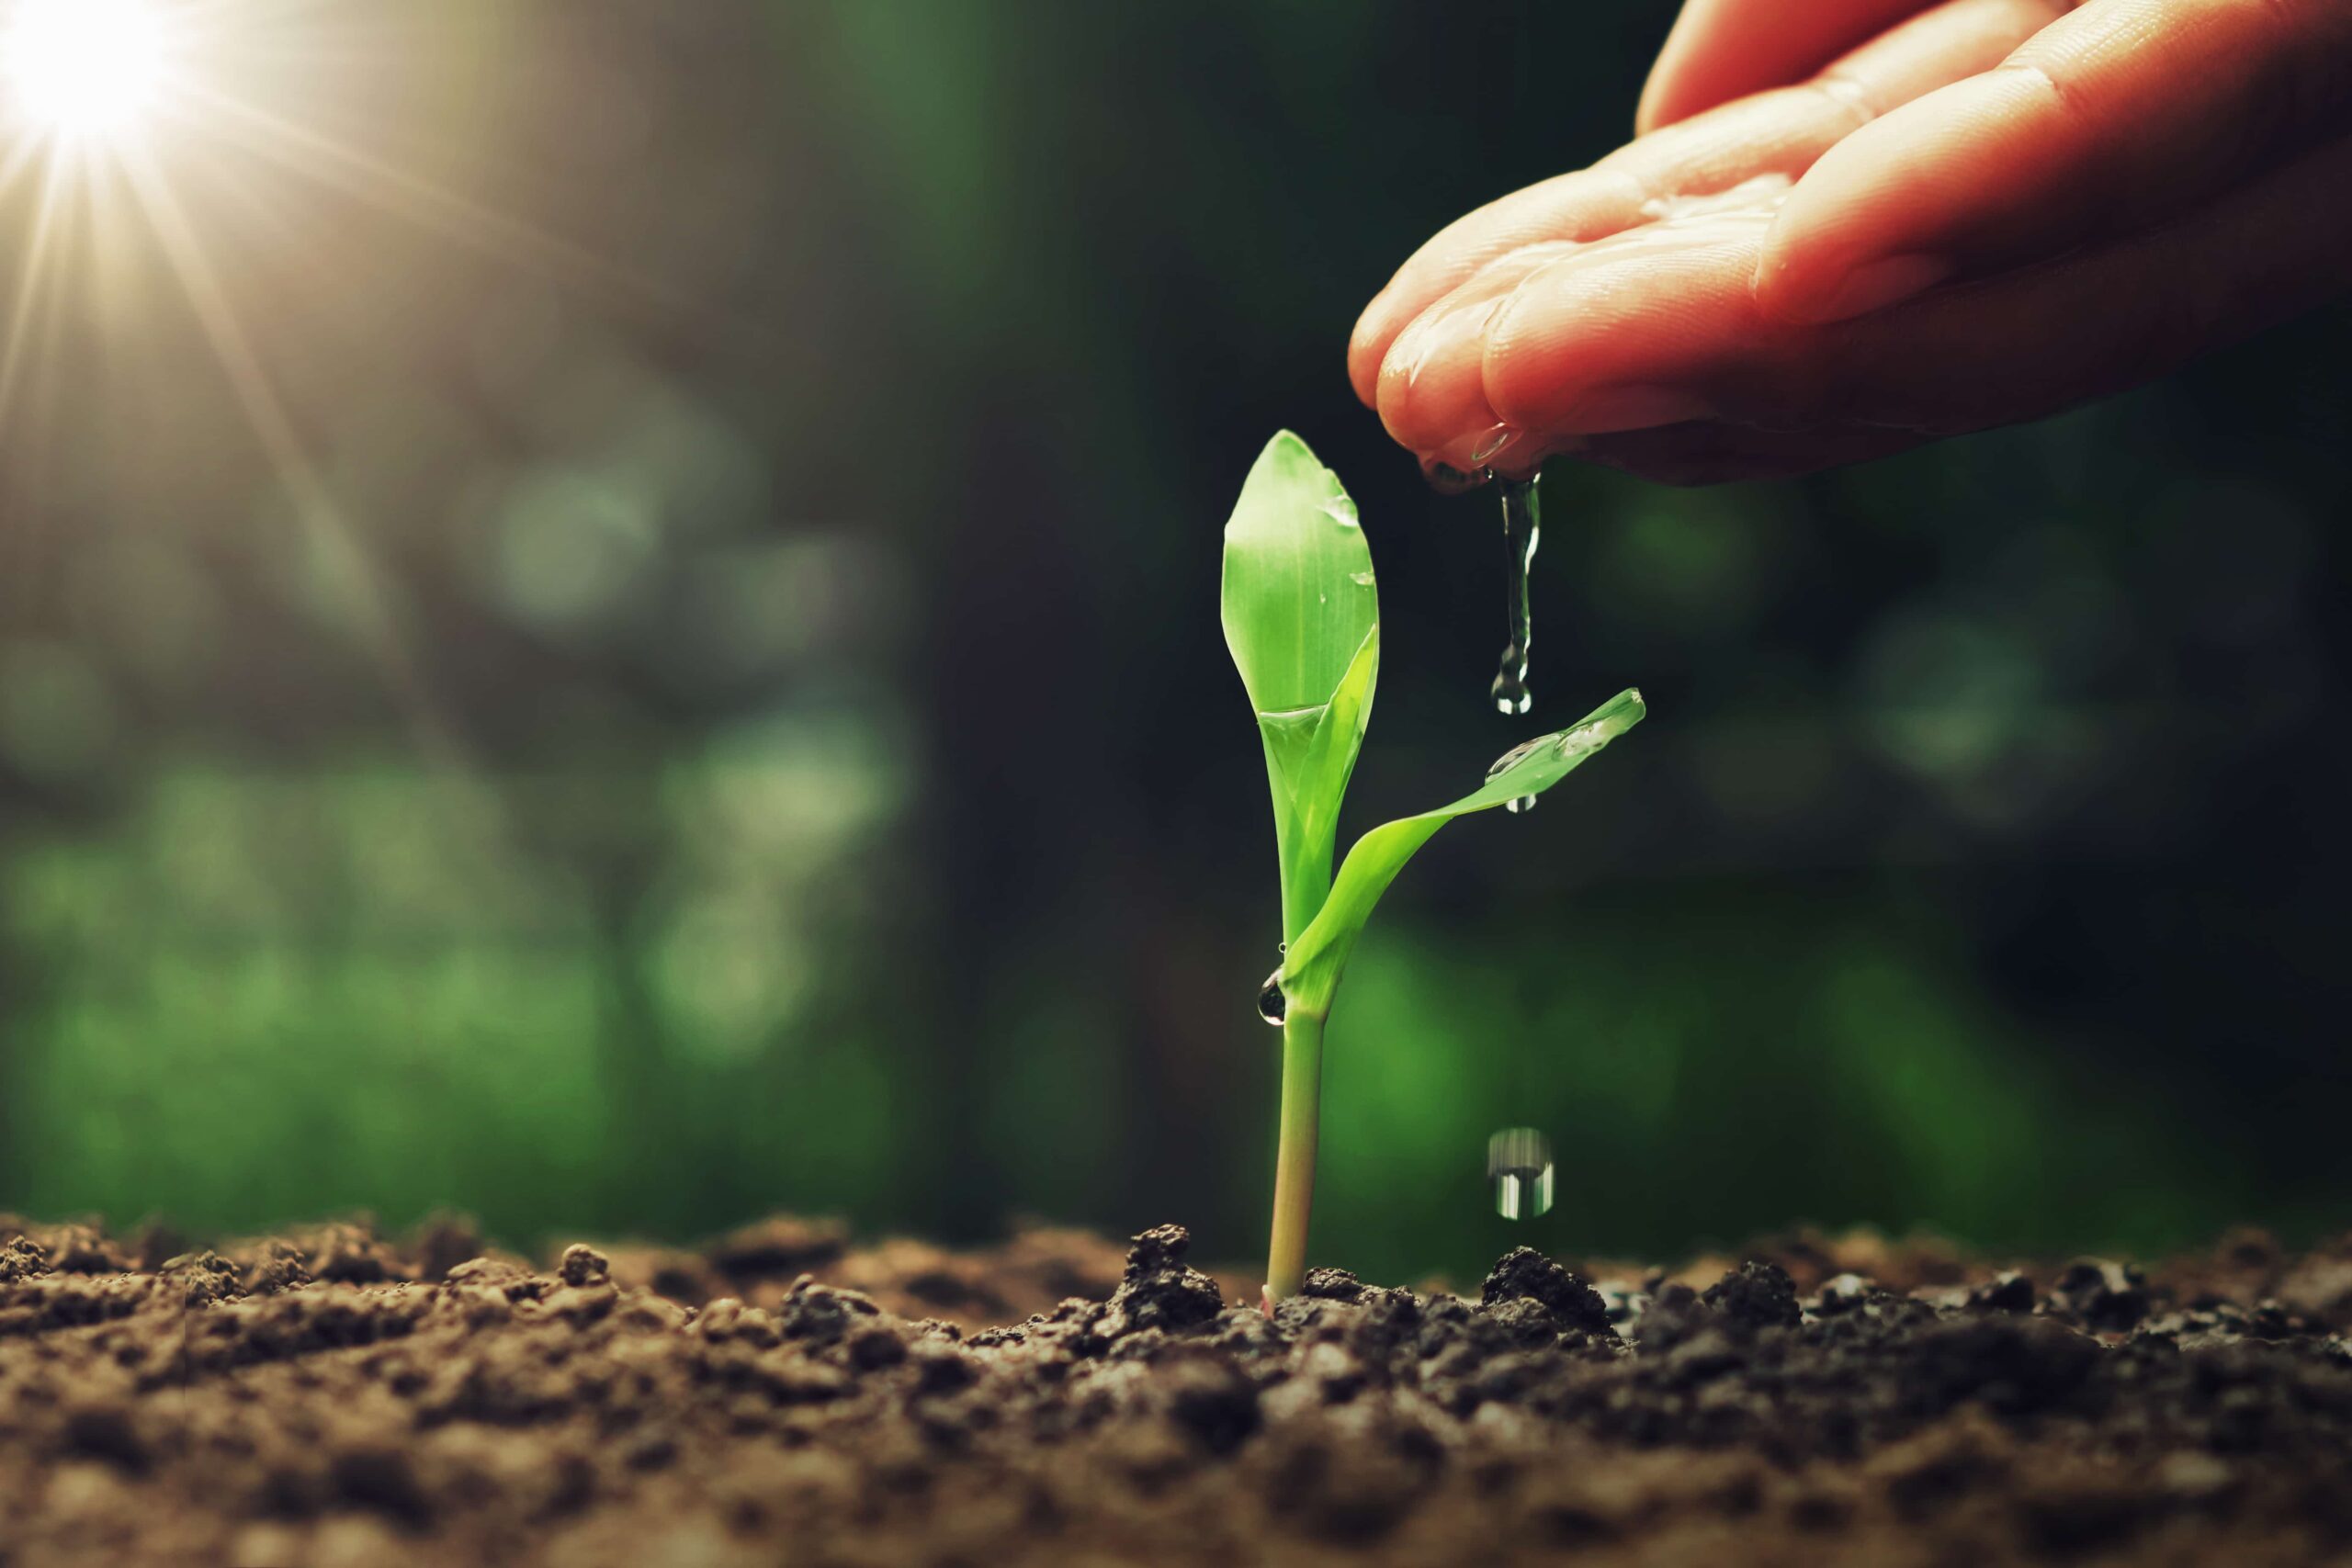
As this is the plant’s first step in life, you want to get it right from the very beginning. A well germinated seed will create a healthy seedling, which will have a greater chance of being successfully transplanted into your home garden.
Selecting the right seeds for your location and season
- With varying climates across the country, it’s good to do a little research to find out what grows best in your area.
- For the most part, planting new seeds in the warmer months either side of the New Year works best (Sept/Oct to March/April)
Choose the right soil mix and containers. A good seed raising mix should have the following key components:
- Particle size – a good blend of small (sand), medium (pumice) and large (granulated bark) particles to keep mix light & free draining.
- Starter fertiliser – a mild fertiliser to last six weeks in the tray.
- Gypsum – for strong root development.
- Saturaid – a wetting agent for even hydration.
- Either Fungicide – to protect vulnerable seeds from disease like damping off or
- Beneficial Fungi called Trichoderma.
Use a Seed Raising mix at first, not a Tub or Potting Mix. Seed Raising Mix has a fertiliser designed to last 6 weeks, whereas other mixes have fertiliser to last 3-6 months, but they’re usually quite acidic and will burn tender young seedlings.

It’s also always a good idea to buy fresh mix each season. Just like anything else, potting mix can become stale, begin to break down and dry out, meaning the value of the short-term fertiliser is significantly reduced.
The container you use should just be small enough to get the seed growing. If you’re not using a roper seedling tray, it’s a great way to repurpose items from around the house that you’d normally throw out in the recycling or trash. It could be a yoghurt container, egg cartons, or even the bottom of a small, plastic bottle. Whatever you use, just pierce the bottom of the container with a few drainage holes to allow any excess water to pass through.
Properly sowing and watering the seeds.
- Each seed will have specific requirements, but here is a good general rule of thumb.
- Fill each container with 3cm of Seed Raising mix – any higher and it’s a waste of mix.
- Gently pat the mix down and water it lightly so the mix is moist.
- Scatter the seed evenly in the tray. This means adding one seed per container or divided space within the seedling tray.
- Cover the seed with a little more mix. Generally, the depth of the added mix should be no more than twice the diameter of the seed. Note that some very fine seed requires no covering as it will slowly works its own way into the soil as it germinates.
- Gently tap any extra mix down again and water lightly. Another option is to gently soak the whole tray until the surface appears moist, then let the tray drain.
- If you don’t have a watering can or a hose with a spray nozzle, take an old, plastic milk bottle, poke holes in the lid, and use this as a gentle watering can.
- Cover the tray with glass, Perspex or Glad Wrap to maintain temperature and moisture levels.
- Keep the tray indoors by the window (an outdoor shed is fine). The season they best grow in will determine how warm the temperature should be when finding the right place to leave them.
- Check daily for germination.
- When you see leaves break through the surface, remove the cover/Glad Wrap and gently move your seedlings in their containers to a sheltered area with good, natural sunlight.
- NEVER overwater your seedlings. They’ll drown and the roots will rot.
Providing the right amount of light and temperature for germination and growth
- As most seeds prefer warmer temperatures for growth, keep them indoors to avoid being killed by frost, wind or rain outside.
- Leave them by a window in direct sunlight if required, otherwise put them in an area near the window where they still get a lot of reflected light but not direct sunlight.
- It’s a good idea to turn the containers each day so the seedling doesn’t lean by growing toward the light.
Transplanting the seedlings into larger containers or the garden
- It can be a good idea to transplant the young seedlings to a slightly larger container after a couple of weeks or once they become established. This will allow the root systems to grow before transferring them to the garden outside.
- Only transplant seedlings when they are large enough to be handled.
- Gently use something like a spoon to scoop them out of your container, making sure you don’t lift the seedling up by the stem or leaves as this will damage the plant.
- Gently free the root systems if they are bound together before placing them in the new area of Seed Raising mix. This will make sure the root systems continue to grow.
- When transplanting them to the outside garden, there may be a large difference in temperatures, depending on where you live. This is probably more relevant in southern regions. You can ‘harden off’ plants by gradually exposing them to outdoor temperatures. Simply place the seedling in its smaller container for one hour the first day, two hours the next, slowly increasing each day for a week so the seedling gets used to the temperatures, then transplant.
Now that you have your seedlings, let’s look at alternatives to large gardens.
Part of the pleasure of growing your own herbs, spices and vegetables is having an easily manageable garden. Gardening doesn’t have to be about getting your gumboots on in winter and trudging through the dirt. There are ways to segment and section off each area of your garden by creating purpose-built areas specifically for the plant you’re growing.
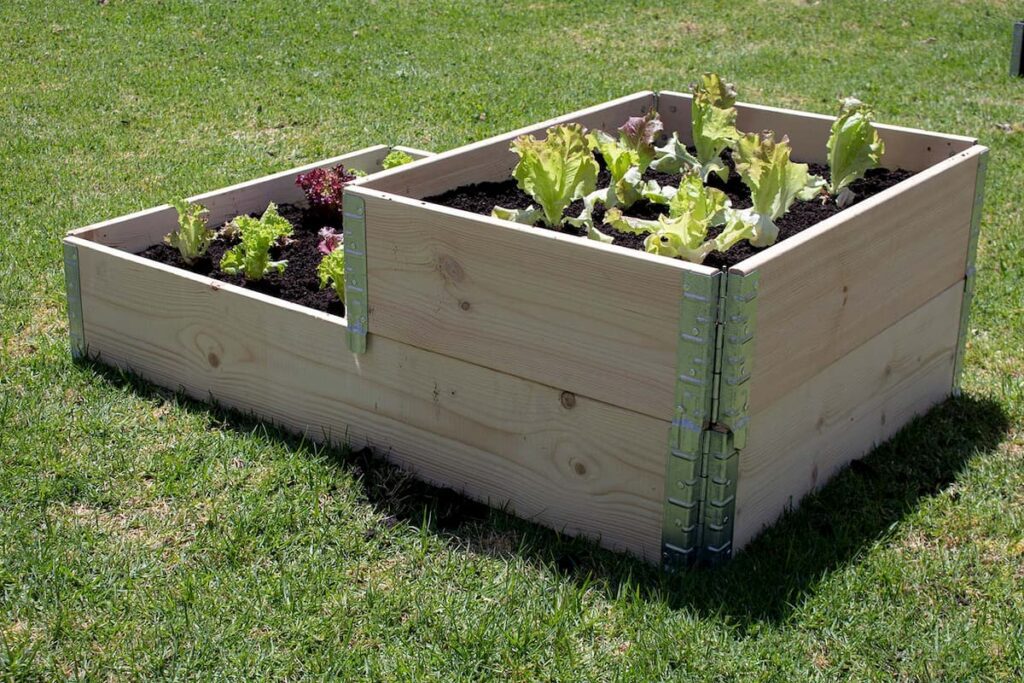
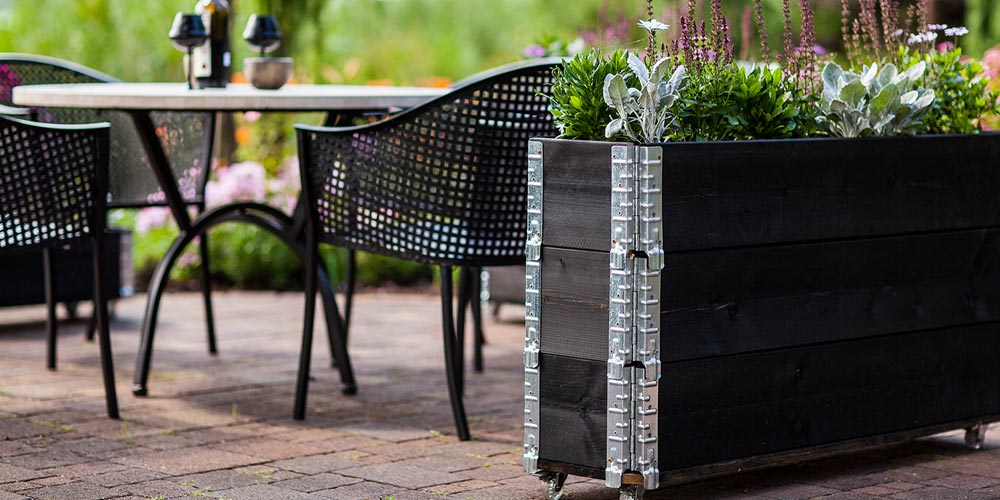
GardenStax
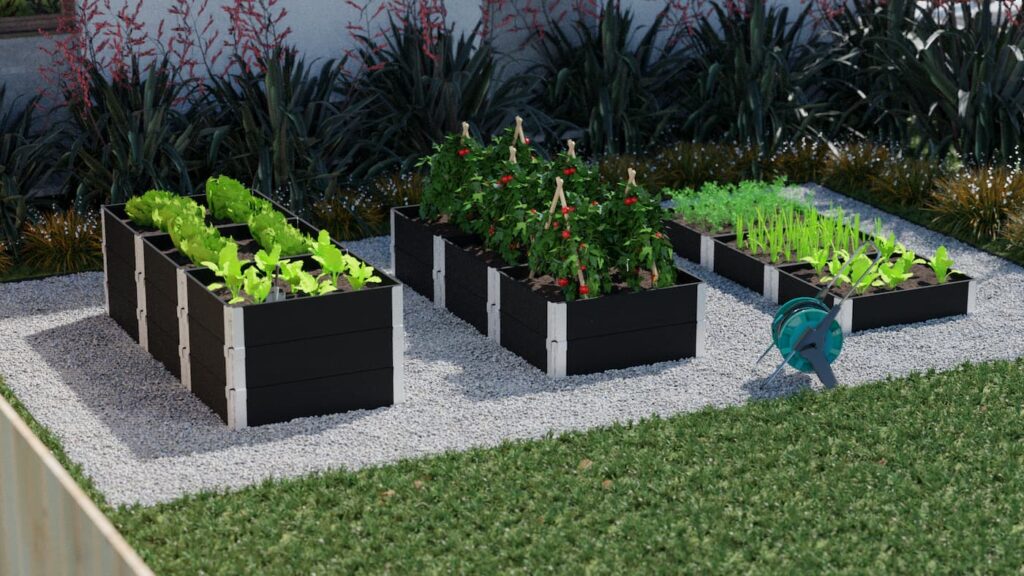
One of the easiest ways to plant seedlings outdoors is by creating a GardenStax raised garden. This can be of any size or shape, and can be installed on decks, patios, even against the side of houses right next to the garden path. You can even build them high enough, so you don’t have to bend down to access your home-grown food.
GardenStax is a simple clip-together framing system. It can easily be lined to stop soil from escaping and dirtying up your decks while allowing water to pass through after it rains, alternatively it can simply be placed on the lawn next to pathways of fences in a preferred spot in the shade or sun. Use this handy veggie planting calculator to work out what size is right for you, and the best time to plant. If you plan what you’re going to grow, you can make sure each GardenStax raised bed is ready the moment your seedlings are ready to transplant. The planting calculator also has great suggestions as to what grows well with each other in the same raised garden, and what combinations to avoid.
GroWorm

GrowWorm is a great way to hide edges, separate areas, plant along curved lines, or even just as an entertaining way to teach kids how to plant their favourite garden food. It’s perfect for growing herbs on balconies or decks. Just build a rack and line them up so all your favourite spices are always close to hand.
Tips and tricks for successful seedling growing
To ensure the success of your seedlings, here are a few tips and tricks to keep in mind.
Pre Harvest
Plants can cross pollinate with similar varieties of the same species so:
- Grow and save seed from one variety of a species each season
- Isolate same species by distance or contain them in insect and wind proof enclosures
- Plant varieties that will flower at different times
- Control pests and diseases during the growing season to avoid the seed borne transfer of viral, fungal and bacterial diseases.
Harvesting Seed
- Next year’s plants will only be as good as this year’s seed, so it’s a good idea to harvest seeds from a large number of plants to keep the genetics strong.
- Always choose seeds from the best quality plants, flowers, fruits and vegetables, rather than from plants that show poor characteristics prior to maturity.
- Desirable plant qualities to consider are flavour, plant size, harvest time, bolting time, fruiting abundance, yield and pest resistance.
- Harvest when the time is right. This is when the seed pods have dried on the plant or when the fruit or vegetable is fully ripe and well past its edible stage.
Cleaning and storing seed
It’s important to store your harvested seeds in the correct way, keeping them in the best possible condition for the next planting season.
- Remove as much chaff, seed pod and plant material as possible, as this can harbour unwanted pests and disease.
- Make sure the seed is completely dry or it will rot or get mouldy in storage.
- Date and label all seed packets.
- Keep your storage area cool, dark and dry. Seed needs heat, light and moisture to germinate, so the reverse is best for storage, preferably in an airtight container or Ziplock bag. Exceptions to this are beans and nasturtiums which prefer to be in breathable bags.
- Store them in a cupboard or area that will maintain constant temperature and humidity.
- Do not store seed in the freezer. The moisture in stored seed can vary from 1-10%. Higher moisture levels can cause the seed to expand and shatter internally.
Stored Seed
Watch out for insects in stored seed. Problem insects include Weevils, Moths, Mites and Trogoderma which are microscopic.
All seed has a shelf life. Seed with a short shelf life should be sown fresh each season including Alliums, Parsnip, Lettuce, Peppers/Chillies (shelf life 1 to 2 years). Other time frames – Carrot 2 years; Beans, Peas and Eggplants 2-3 years; Cucurbits and Tomatoes 3-5 years; Brassica 3-10 years.
Once you’ve planted your seed and started the germination process, here are five great tips to make sure they’re given the best chance of growing.
Always use a good quality seed raising mix.
Seed Raising Mix helps the germination process so it is important to use a fresh batch of a good brand that contains a balance of the following ingredients:
- Pumice for good drainage
- Peat or bark to hold moisture
- Beneficial fungi such as Trichoderma to help prevent soil borne diseases
- pH within 6-6.5 range with a quality NPK fertilizer
Never sow seeds too deeply.
One reason why many seeds don’t germinate is because they are buried too deep. Very fine seed should be left uncovered but pressed firmly into the surface only. Fine seed should be just covered, while larger seed should be sown no deeper than twice its diameter.
Maintain even moisture levels during germination.
Seeds that have dried out or have become waterlogged are not going to grow. Keep a good moisture balance with your seed to maximise the chances of successful germination and avoid disease. A good tip is to water the soil, not the seedling’s leaves.
Avoid low light levels and cold nights.
Once you’ve sown your seeds in a covered tray, place them in an area where they will get a combination of sunlight and protection from cold night temperatures. This could be in a protected area under the eaves of your house, in a shed or in a greenhouse if you have one.
Most seeds need warmth to germinate.
Most seeds need regular warmth to help them germinate. By planting in the right season, you are increasing your chances of success. If a constant high temperature is required this can best be achieved by using an electrical heat pad.
Why good seeds fail to grow
- Seeds sown too deeply
- Soil not firmed around seeds
- Soil temperature too low or too high
- Over-watering
- Pre-emergent damping off (common soil-borne fungal) disease
- Contaminated soil
- Garden pests such as slugs, snails, cats and ants
By following these tips and tricks, you’ll be able to grow strong and healthy seedlings that will thrive in your garden.