There are a lot of properties in New Zealand with damp, south facing hills or embankment areas that just don’t get a lot of use. They’re often saturated with water during winter, resting in the coldest part of the property. But what if we could change that? What if we could clear the excess water from the ground, and create a warm, stable, dry area that would actually get some use?
Strol has many innovative products that not only look great but serve a well-designed function to improve your garden’s performance. For this project, we’ll look at cutting into your back lawn, creating a well-drained, pebbled area with a built-in firepit, surrounded by an easy to install retaining wall system that you can sit on, lined with a vertical drainage panel to drain all that excess water away. Guests will be able to mingle mud-free in a great entertainment area you’ll enjoy all-year-round.
How to create a stable, dry embankment with SureWall and ArmourFlow
- Excavate your entertainment area
- Retain the newly exposed bank with SureWall

The first thing you wan to do is create the space in which to build your entertainment area. SureWall is a ‘clip together’ retaining wall system designed for DIY projects. It’s easy to install and requires minimum excavation to insert the joining posts. Suitable for walls up to 1m high, it’s ideal for this kind of project. SureWall gives you a clean, natural finish with a flush edge, which will make lining the inside area with PebbleLock pavers that much easier. You can also easily add a capping edge to the top, which could be used as seating.
Once you’ve dug and levelled the entire entertainment area out of the embankment, simply mark out with pegs and string the exact placement and height of the wall, making sure it’s straight and even. Minimal excavation is required to insert the SureWall posts, just remember to insert half the post into the ground. Strol has corner posts as well as joining and end posts to make your finished edge nice and clean. Once the posts are set in place, simply cut and drop your timber into the slots. Don’t put the capping edge or seating on top just yet.
Don’t hold back on your designs. With SureWall, it’s easy to create any 90-degree angle. You can even build outdoor steps leading through the wall from a pathway into your entertainment area. Just map it out, stake it out, make sure it’s level, and slot your timber into place. It’s that easy!
View the full SureWall installation guide!
It’s all about keeping it dry
- Line the soil-facing side of the wall with ArmourFlow
- Lay a perforated drain with FilterSleeve
- Refill the bank with soil
- Give the wall a permeable pebble edge using SureTex, PebbleLock and PaveMaster
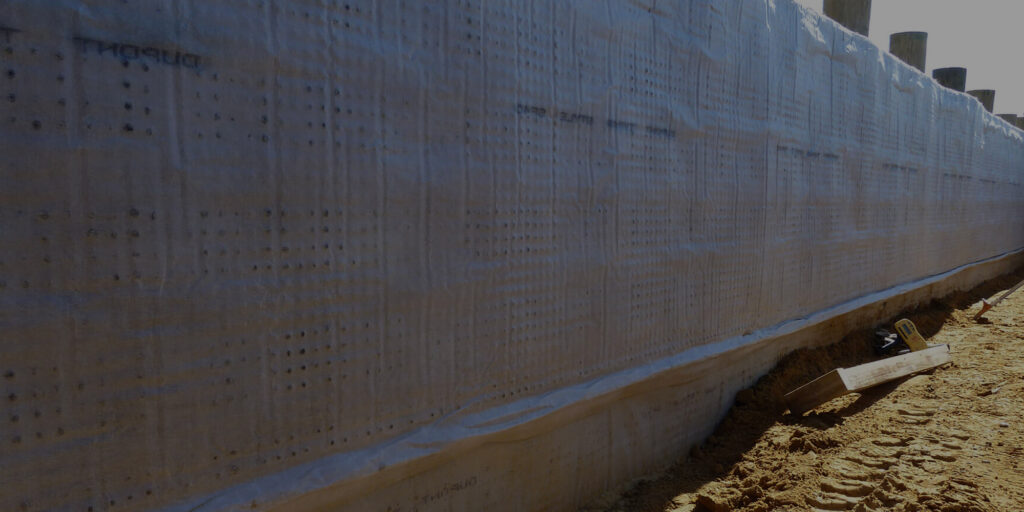
The next stage of creating a built-in firepit is lining the soil-facing edge of the SureWall retaining wall and the ground with ArmourFlow Panel Drain. This advanced, geocomposite drainage board collects and filters water build up within backfill soils. It captures water, much like the bubbled-plastic trays your meat comes in from the supermarket, and then drains it away, preventing pressure build up from that excess water, leaving your embankment much drier all-year-round. It comes with a geotextile backing so it never gets clogged up and will prevent moisture from infiltrating your new retaining wall.
To aid in water runoff, we recommend also laying a perforated drainage pipe, lined with FilterSleeve before backfilling the retailing wall with the soil you originally removed. Now, you have a durable retaining wall that will always be working to keep your embankment from getting bogged down.
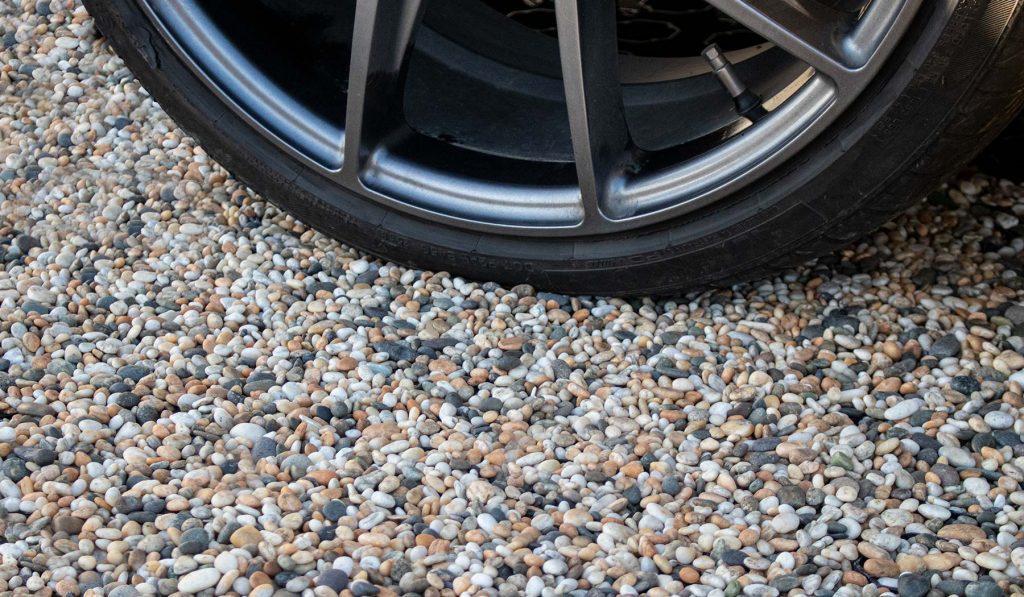
You can also add a single row of PebbleLock permeable pavers and pebbles around the outside edge of the retaining wall to match what you’ll be putting inside. Use PaveMaster landscape edging on the edges so grass can grow right to the edge of the pebbles, making it super easy to mow. You could extend that row of PebbleLock into a stable pathway leading up the embankment to your home.
Bring out the marshmellows – it’s time to build a fire
Gathering with friends around a cosy firepit or brazier is a great way to entertain, especially during winter, but it’s never fun when you’re all literally sinking into the ground. By using a combination of SureTex geotextile to seal off the soil layer below, and PebbleLock permeable pavers with aggregate layers on top, water will simply drain from the surface, through stabilised layers of permeable materials, and drain away without the lower soil layers and upper permeable layers ever mixing. No more muddy feet and wet jeans.
If you have a free-standing brazier that’s raised off the ground, you can line the entire area with SureTex and PebbleLock. If you’re looking to install a built-in firepit, just cut an initial space into the SureTex geotextile to fit where you’re going to place your fire. SureTex geotextile separates the soil layer from the aggregate layers above. If they mix, the upper layer sinks into the less stable soil, which is where you’ll get potholes and pooling, so make sure the fabric is well spread. Cover the area where your firepit will go with GAP20 and Crusher Dust, then lay out your bricks and build the walls of your desired firepit. Just do this section for now, so you’re not churning up the rest of the area while you work. There are a number of great ways to create a built-in firepit. Look online for a way that best suits the look of your home. 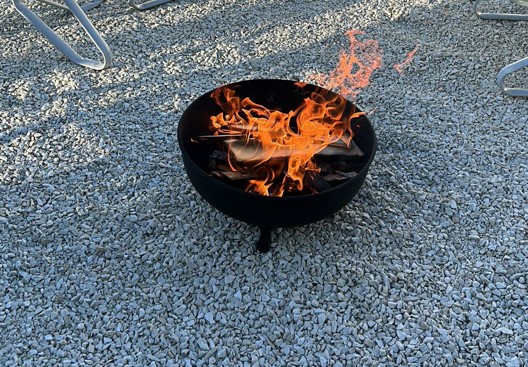
Once your firepit is built, fill the interior with an extra 100mm of stones or pebbles. This is to raise the level of the pit above the level of the rest of the flooring area. As there’s no drainage underneath the firepit, we want any rainwater to drain onto the PebbleLock pavers instead of pooling inside your firepit. Once that’s done, you’re ready to fill the rest of the entertainment area with GAP20 and crusher dust, then simply clip the PebbleLock pavers into place and fill with your desired 8-14mm pebbles. The PebbleLock pavers are easy to cut, so you can create any shape to fit your new firepit. You can also add them into any stairs you’ve created using SureWall. Remember, you may also want to add another drainage pipe extending from the lowest point of the pit area to your main drainage system to drain all the water we’ve now captured away.
Keep in mind, the above information is a guideline. For more information about installation, refer to the installation guides.
Enjoy your new outdoor firepit!
Now, it’s just a matter of calling your friends (if they weren’t already helping) for a few wines around a roaring, outdoor fire. What was a boggy marsh, is now an all-weather entertainment area, stable enough to add tables and chairs, gas heating and pot plants.
Shopping List
- Strol SureWall
- Timber
- Strol ArmourFlow Panel Drain
- Strol FilterSleeve
- Strol SureTex Geotextile
- Gap20
- Crusher Dust
- Strol WeedMat Pins
- Strol PebbleLock
- 8-14mm pebbles
- Strol PaveMaster Edging